- 4.3Users
- 4.3.1Add User
- 4.3.2Import users from a file
- 4.3.3User actions
4.3Users
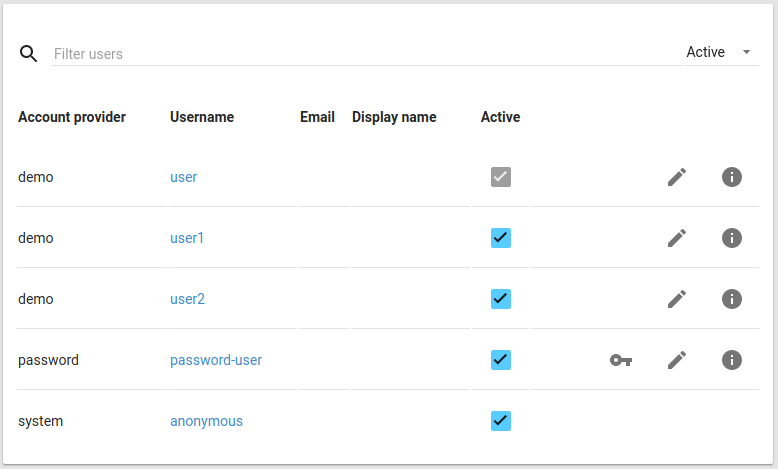
Users are displayed ordered by provider and username.
It’s possible to filter users by status (Active, Inactive, Both) and by free text search (includes all fields).

4.3.1Add User
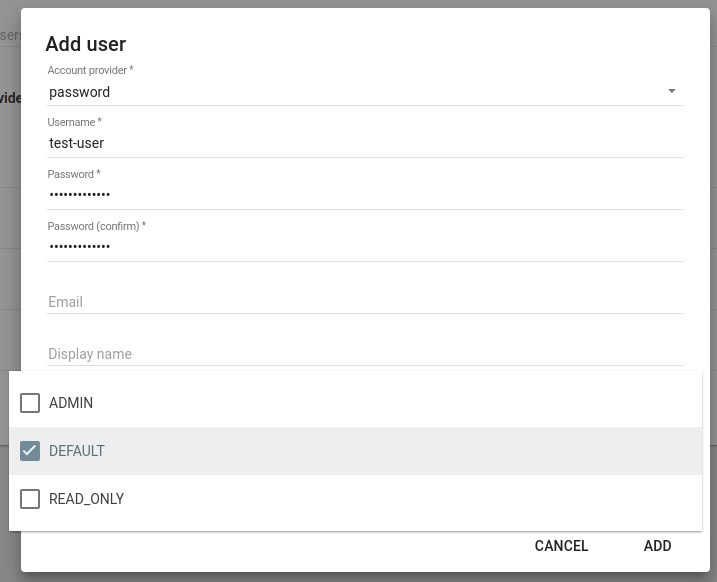
To create a user, click on the plus button, and then select “Add user”.

Based on the selected provider, enter the required configuration:
- Username: the unique username, also used to log in in case of demo and password providers
- Password: Password provider only
- Email: address used to send notifications
- Display Name: name to display across the application instead of the username
- Roles: one or more roles to assign to the user
- Active: whether the user is active or not
4.3.2Import users from a file
It is also possible to save time and import a large set of user from a JSON formatted file.
The format has to be:
[
 {
 “provider” : "“,
 ”username“ : ”“,
 ”displayName“ : ”“,
 ”email“ : ”“,
 ”enabled“ : true|false,
 ”roles" : []
 },
 …
]
Only provider and username are mandatory, with password mandatory in case the internal provider is used.
To then import the file, click on the plus button, then “Import”.
Select a file, then click “Import”.
A notification will appear in the lower left corner with the result of the operation.
4.3.3User actions
- : reset the user’s password
- : edit e-mail address and display name
- : show roles assigned to the user